
How to get a VPN on a school computer? Obtaining a VPN on a school computer is as straightforward as downloading the application from its official website. Following that, you’ll need to create an account and establish a connection to a server. Nevertheless, in cases where your school has imposed specific website restrictions, access to official VPN websites might be restricted or blocked.
A VPN connection can be an incredibly valuable tool for students, allowing them to access educational resources from any location and keep sensitive information secure. Fortunately, getting a VPN on your school computer is easier than it may initially sound. In fact, with this blog post as your guide, we’ll walk you through the entire process step-by-step so that you can start enjoying all the benefits of a reliable and secure connection. So let’s get started!
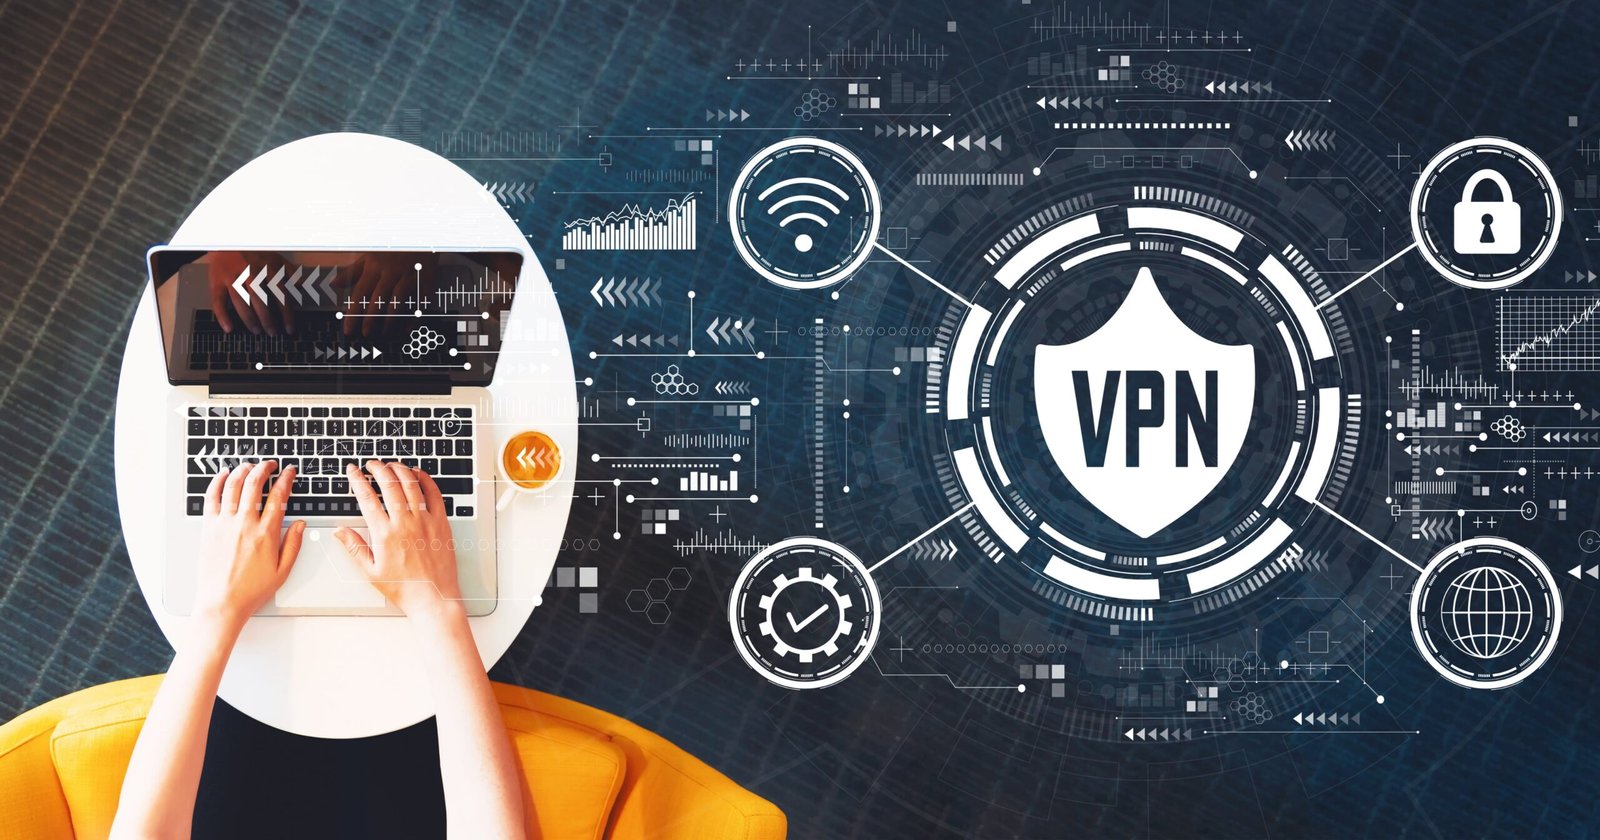
Firstly, it’s crucial to understand what a VPN is and why it’s beneficial for a student like you. A Virtual Private Network (VPN) establishes a private network from a public internet connection, providing online privacy and anonymity by creating a private network from a public internet connection. This masks your internet protocol (IP) address, so your online actions are virtually untraceable.
Step 1: Choosing a VPN Service
Your first step is to select a reliable VPN service.
It’s important to choose a service that offers strong encryption, a no-logs policy, and good speeds.
Some popular choices include NordVPN, ExpressVPN, and CyberGhost.
Make sure to do your research and read reviews to ensure the service you choose has a good track record of security and reliability.
When you’re choosing a VPN service, there are several factors you should bear in mind.
The encryption protocol and privacy policy are chief among these.
A strong encryption protocol will ensure that your data is securely scrambled as it travels over the network, making it nearly impossible for anyone to decipher.
The privacy policy should clearly state that the service does not keep any logs of your online activities.
Another key factor is the server coverage. A VPN with a wide range of servers worldwide will give you more options for bypassing geo-restrictions.
Speed is also a crucial consideration; a slow VPN can make your browsing experience painfully sluggish.

Step 2: Download and Install the VPN
Once you’ve carefully selected your VPN service based on the factors mentioned above, it’s time to download and install the application on your school computer.
To do so, you will need to visit the VPN service’s website and create an account. After you’ve signed up, you can proceed to download the VPN application.
Choose the version that is compatible with your operating system. Downloading should only take a few minutes.
After the download is complete, run the installation file and follow the given instructions.
This process is usually straightforward; however, if you encounter any issues, most VPN services offer comprehensive guides on their websites or customer support to assist you.
Once the VPN is installed, you’ll need to log in using the account details you created earlier.
After logging in, the VPN application should present you with an option to select a server from a list of locations. Choose a server in the location you prefer, and then click Connect.
Now, your school computer is connected to the internet through a secure VPN, providing you enhanced security, privacy, and freedom online.
Step 3: Connect to a VPN Server
After installing the VPN software, open it and sign in with the credentials provided during your purchase. Now, it’s time to choose a VPN server to connect to.
Your choice of server will depend on your needs – if you are looking to access content not available in your region, choose a server located in the region where that content is accessible.
Remember, it’s essential to disconnect from the VPN when not in use.
To do this, navigate to the VPN application and click “Disconnect.” This will disconnect you from the VPN server and revert your internet connection to its original state.
Practice safe and responsible use of technology to maintain its benefits.
Step 4: Verify Your Connection
Once connected, it’s important to verify that the VPN connection is working properly. You can do this by checking your IP address online.
If the displayed IP address matches the location of the server you connected to, it means you are successfully connected to the VPN.
Enjoy unrestricted access to the internet in your school with your newly installed VPN. It offers a world of benefits, from ensuring secure connections to bypassing geographical restrictions.
Use it responsibly, and remember to disconnect when not in use. With these steps, you’re well on your way to a more secure, private, and unrestricted internet experience.
Step 5: Enjoy Unrestricted Access
Now that you’re connected to the VPN, you can enjoy unrestricted access to the internet.
All the online resources needed for your studies, previously blocked due to network restrictions, are now at your fingertips.
Remember, always disconnect from the VPN when you’re done to conserve bandwidth.
Remember, using a VPN responsibly is as crucial as setting it up.
Don’t use it to access inappropriate content or evade legal restrictions. Also, regularly update your VPN software to maintain its efficacy and security features.
With these best practices, you can harness the power of VPNs for the right purposes and truly enhance your educational experience.
Step 6: Maintain Your VPN
Maintaining your VPN is just as important as setting it up.
Ensure you keep your VPN software up to date, as regular updates often include security fixes that keep your connection secure.
Additionally, consider changing your server location from time to time to avoid potential network congestion.
Lastly, always keep track of your bandwidth usage, especially if your VPN service has data limits.
This way, you can ensure a consistent and reliable VPN connection for your school computer.
By following these steps carefully, you can effectively set up and maintain a VPN on your school computer, ensuring unrestricted, secure, and private internet access.
Remember, the power of a VPN, when used responsibly, can greatly enhance your online experience, opening up new opportunities for learning and exploration.
Make sure always to respect the rules and use this technology ethically and for educational purposes only.
Conclusion
How To Get a VPN On A School Computer? Using a VPN on your school computer doesn’t have to be complicated. By following these steps, you can enjoy a secure, private, and unrestricted internet connection. Remember to always use your VPN responsibly and only for activities that comply with your school’s acceptable use policy and local laws.
FAQs
How do I choose the right VPN for my school computer?
Choosing the right VPN for your school computer requires careful consideration of several factors. Key aspects to consider include security features, server locations, ease of use, and speed.
It’s also essential to choose a VPN service that respects your privacy and doesn’t keep logs of your internet activity. Lastly, ensure the VPN you choose fits within your budget.
While some free VPNs may work, they often have limited features, slower speeds, and less secure connections. It’s usually worth investing in a reputable paid VPN service.
How do I use a VPN if my school is blocked?
If your school has blocked VPN usage, it can be challenging. However, some VPN providers offer stealth or obfuscation modes, which can disguise VPN traffic as regular internet traffic, allowing you to bypass the block. Always remember to follow your school’s policies and local laws regarding internet use.
How do I get a VPN on my school Chrome?
To use a VPN on a school Chromebook, choose a VPN that supports Chrome OS. Next, download the VPN from the Google Play Store or Chrome Web Store and install it.
Sign in using your VPN account details, select a server, and connect. Remember, always abide by your school’s internet use policies and use VPN responsibly.
Can you use a VPN at school?
Yes, you can use a VPN at school, provided it adheres to the school’s acceptable use policy and does not violate any local laws.
A VPN can help bypass network restrictions, providing access to educational resources otherwise unavailable.
However, it is essential to use the VPN responsibly and not for accessing inappropriate content or evading legal limitations.