When it comes to assembling a computer, an experienced builder can complete a simple build in approximately 40 minutes to an hour. For a novice or inexperienced PC builder, the process may take anywhere from three to four hours, provided that all steps are meticulously followed to prevent any potential issues.
Building a computer from scratch can be a rewarding and cost-effective venture, providing you with a system tailored to your specific needs and preferences. However, it’s a process that requires careful planning, knowledge of components, and patience.
In this guide, we will delve into the details of how long it typically takes to build a computer, breaking down the steps and factors that influence the duration of the build.
I. Preparing for the Build
Research and Component Selection (Time: Varies)
The duration of the preparatory phase greatly depends on your familiarity with computer hardware. If you’re well-versed, this step may take a few hours to a couple of days.
For beginners, it could take a week or more to research and choose the appropriate components.
- Researching Components: Research various components such as the central processing unit (CPU), motherboard, graphics card, memory (RAM), storage, power supply, and cooling system. Understand their compatibility and performance metrics.
- Comparing Options: Compare different options for each component based on your budget, intended use, and preferences. Read reviews and seek recommendations to make informed decisions.
- Compatibility Checks: Ensure all selected components are compatible with each other and fit within the chosen PC case.

II. Gathering Components and Tools
Purchasing Components (Time: Varies)
The time to acquire components varies based on factors like availability, shipping time, and the number of components you need. Typically, this process may take a few days to a couple of weeks.
- Ordering Components: Place orders for the selected components from reputable retailers or online stores. Consider shipping times and availability.
- Delivery Time: Wait for the components to be delivered to your location. This duration is determined by the shipping option and the retailer’s processing time.
Preparing the Workspace (Time: 1-2 hours)
Before you begin assembling, set up a suitable workspace with adequate lighting and ample space to organize and work on the components.
- Clearing the Area: Clear a workspace, ensuring there’s enough room to spread out components and organize tools.
- Gathering Tools: Collect essential tools such as screwdrivers, anti-static wrist straps, cable ties, and a clean, static-free surface.

III. Assembling the Computer
Preparing the Motherboard (Time: 30 minutes – 1 hour)
Assembling starts with preparing the motherboard, CPU, and RAM.
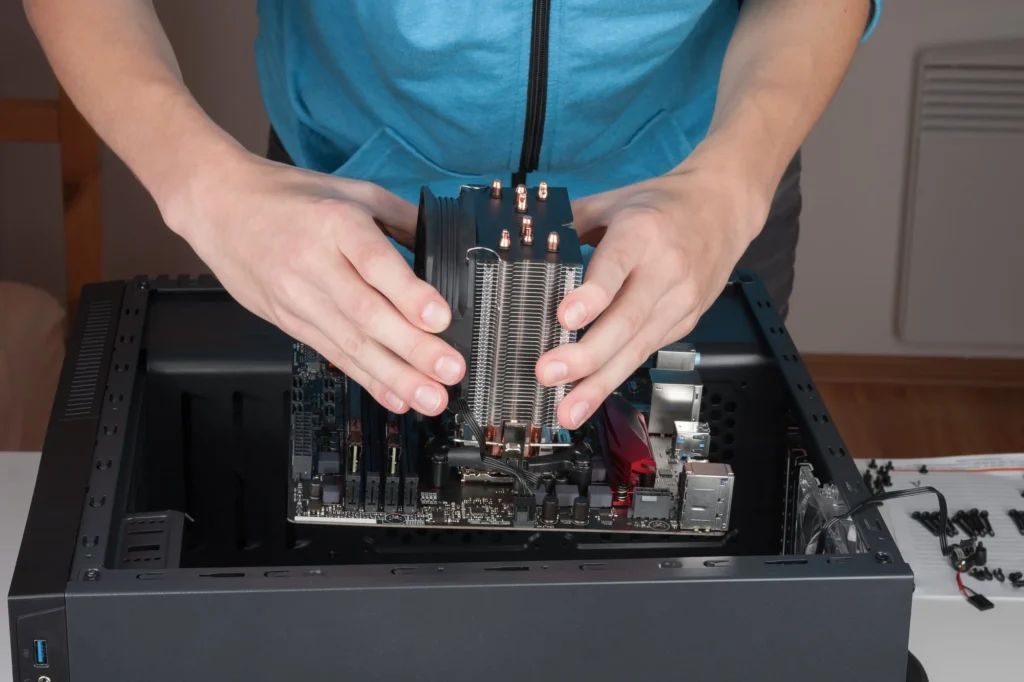
- Installing the CPU and Cooler: Carefully install the CPU into the motherboard, followed by attaching the CPU cooler according to the manufacturer’s instructions.
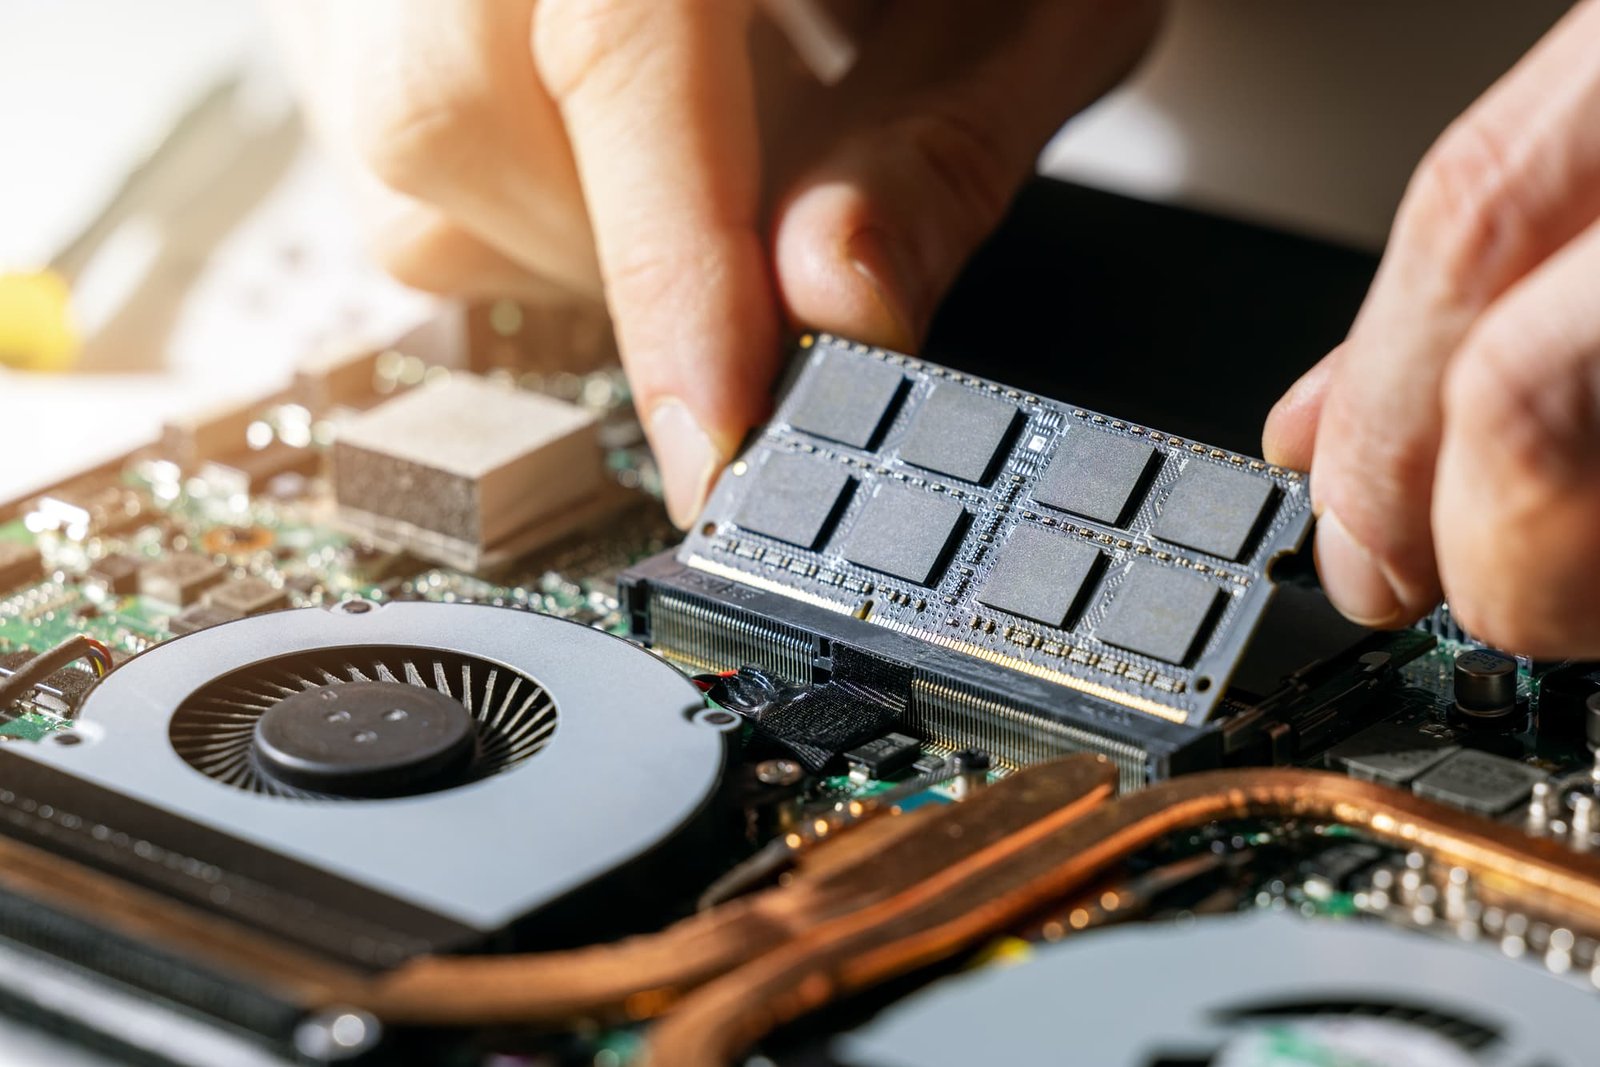
- Installing RAM: Insert the RAM modules into the appropriate slots on the motherboard.
Installing Components into the Case (Time: 1-2 hours)
This step involves placing the prepared motherboard and other components into the computer case.
- Mounting the Motherboard: Place the motherboard into the case and secure it using the standoffs and screws.
- Installing Storage and PSU: Mount the storage drives (e.g., SSD, HDD) and the power supply unit (PSU) in their designated positions within the case.
Connecting Components (Time: 1-2 hours)
Now, connect the various components and ensure everything is properly linked.
- Connecting Power Cables: Connect power cables from the PSU to the motherboard, storage drives, and other necessary components.
- Connecting Data Cables: Connect data cables for storage drives, graphics cards, and other peripherals.
Finalizing the Build (Time: 30 minutes – 1 hour)
In this stage, you’ll make final adjustments and checks to ensure the build is ready for operation.
- Cable Management: Organize and manage the cables within the case for improved airflow and aesthetics.
- Performing a Test Boot: Power on the system for a test boot to ensure all components are functioning correctly.

IV. Software Installation and Setup
Operating System Installation (Time: 30 minutes – 2 hours)
Installing the operating system and essential software is the final step in building a computer.
- Installing the OS: Install the operating system (e.g., Windows, Linux, macOS) using a bootable USB drive or DVD.
- Driver Installation: Install necessary drivers for the motherboard, graphics card, and other components.
Software and Updates (Time: Varies)
This step involves installing additional software and performing system updates.
- Installing Applications: Install applications, utilities, and software relevant to your needs, such as productivity tools, games, or design software.
- System Updates: Download and install system updates to ensure your computer is up to date with the latest security patches and improvements.
System Optimization and Personalization (Time: Varies)
This stage is dedicated to fine-tuning your system for optimal performance and personalizing it to your liking.
- Performance Optimization: Adjust settings for optimal performance based on your usage requirements. This could include tweaking power settings, managing startup programs, or optimizing the system for specific applications such as gaming or video editing.
- Personalization: Customize the look and feel of your operating system. This includes changing the desktop background, customizing the start menu or taskbar, setting up multiple monitors if necessary, and adjusting other visual and functional aspects to suit your preferences.
Maintenance and Upgrades (Time: Ongoing)
After successfully building and setting up your PC, it’s important to keep it running smoothly. Regular maintenance and timely upgrades can ensure that your system remains efficient and up-to-date.
- Regular Maintenance: Perform routine tasks such as cleaning dust from the components, checking for hardware or software errors, backing up important data, and keeping your software and operating system updated.
- Upgrades: As technology advances, consider upgrading your components for better performance. This could include adding more RAM, upgrading the graphics card, or enhancing the storage capacity.
- Troubleshooting: In case of any issues, be ready to diagnose and troubleshoot. This may involve researching the problem, consulting help forums, or reaching out to the component manufacturers’ customer service.
Enjoying Your Custom-Built PC (Time: Ongoing)
Now, it’s time to enjoy the fruits of your labor.
- Usage: Use your custom-built PC for the tasks it was designed for, whether it’s gaming, graphic design, coding, or simply browsing the web.
- Learning and Improvement: As you use your system, you’ll learn more about its performance and potential ways to improve it. Keep exploring new tools, technologies, and techniques to enhance your experience.
- Community Engagement: Join online communities of PC builders where you can share your experiences, learn from others, and stay updated on the latest trends in PC building.
Understanding the Value of Your Effort (Time: Ongoing)
The journey of building your PC continues beyond its assembly and usage. There’s an inherent value in the skills you’ve acquired and the knowledge you’ve gained through this process.
- Skill Acquisition: Building a PC is a hands-on task that hones your technical skills. These skills can be the stepping stone for more advanced technology-based endeavors and can even be valuable in certain professional fields.
- Knowledge Gain: By understanding the components and how they work together, you gain comprehensive knowledge about the inner workings of a computer. This knowledge can be useful in problem-solving and troubleshooting not only your system but also other technological devices.
- Cost Efficiency: Building your computer often offers better value for money as compared to pre-built machines. This knowledge of cost-efficient PC building can be a valuable guide for future tech purchases.
- Satisfaction: Last but not least, the satisfaction derived from successfully building a PC and seeing it work smoothly is an experience in itself. It’s an affirmation of your skills and effort and makes for a rewarding end to your project.
Conclusion
How Long Does It Take to Build a Computer? Building a computer is a multi-step process that requires careful planning, component selection, assembly, and software configuration. The time it takes to complete the build varies based on your familiarity with the process, the complexity of the build, and the availability of components. However, with the right approach and attention to detail, you can build a functional and customized computer that meets your requirements.
FAQs
Do you need help building a PC?
Building a PC can be a complex task, particularly for beginners. However, with the right guidance and resources, it becomes manageable. The key lies in meticulous planning, careful selection of components, and patience during assembly and setup. Moreover, the valuable skills gained and the satisfaction derived from the process make it well worth the effort.
How long does it take to build a gaming PC?
The time to build a gaming PC depends on several factors, including your experience level, the complexity of your build, and whether you encounter any complications. For a beginner, it may take a full day or even a weekend. For someone experienced, it might take a few hours. Always remember that taking your time can prevent costly errors.
How long does it take to build a laptop?
Building a laptop is quite different from building a desktop PC. Due to the compact nature of laptops and the custom design of many components, it generally isn’t a task undertaken by most consumers. It requires specialized knowledge, tools, and access to specific parts, which can be challenging to acquire. Therefore, most people opt to purchase pre-built laptops or customize their selections through the manufacturer.
Is it hard to build a gaming PC?
Building a gaming PC can be a complex task, particularly for beginners. However, with detailed guides, tutorials, and a bit of patience, even novices can successfully assemble a gaming PC. The process allows for customization, enabling users to build a machine that perfectly meets their gaming needs. Moreover, it provides a sense of satisfaction and accomplishment, making the effort worthwhile.


